Simple Machines: Written Lesson
Introduction
Discuss with your students what a machine is.
- Merriam-Webster defines a machine as “a mechanically, electrically or electronically operated device for performing a task”
- On a very basic level, a machine is something that helps us do something
Simple machines make up more complex machines, and make work easier by magnifying force, or allowing you to do more than you could without the machine.
Discuss with your students the 6 types of simple machines, using the examples below as needed. If you have previously covered simple machines with your students, this can function as a short review, with students listing (and explaining) each type of simple machine. If this is your students’ first exposure to simple machines, this introductory section should be more in-depth.
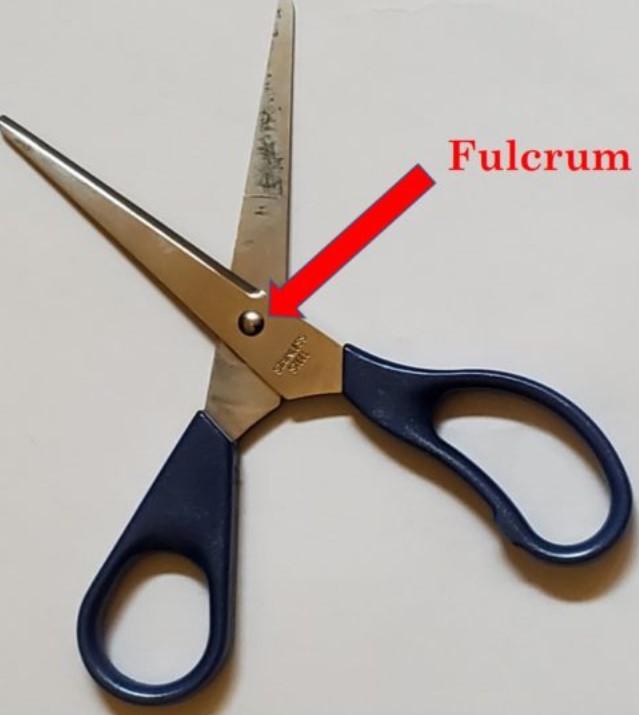
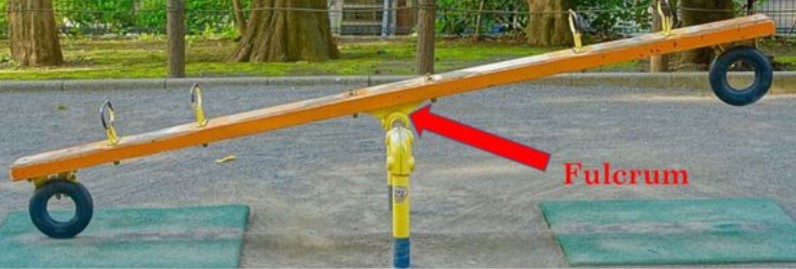
1. Lever
- Consists of a beam or rigid rod pivoted at a fixed hinge, or fulcrum
- Look for the fulcrum, or the point around which the straight piece moves
- Examples: see saw, scissors
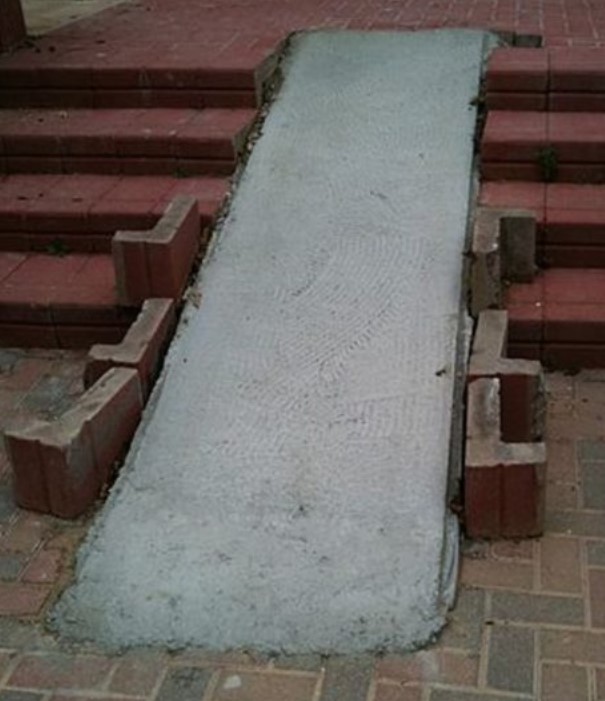
2. Inclined Plane
- An even, sloping surface
- Very important for getting around with wheels anywhere that isn’t completely level (in a wheelchair, pushing a cart, driving a car)
- Examples: ramp
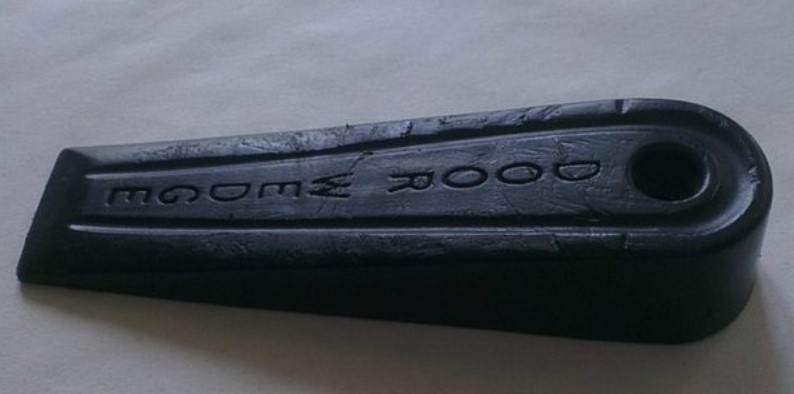
3. Wedge
- A simple machine that is thick at one end and sloping to a thin edge at the other
- Any sharp tool is probably a wedge
- Examples: knife, nail, teeth, door stop
4. Pulley
- A wheel with a groove in it, and a rope that runs over the groove
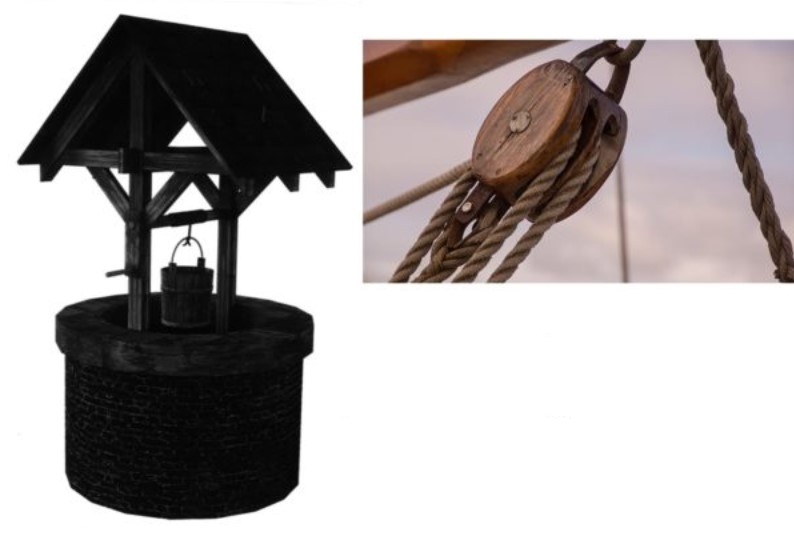
- Saves a great deal of effort and work, as in the examples below – otherwise someone would have to, for example, climb up the flagpole to put the flag in place
- Examples: water well, flagpole, elevator
5. Screw
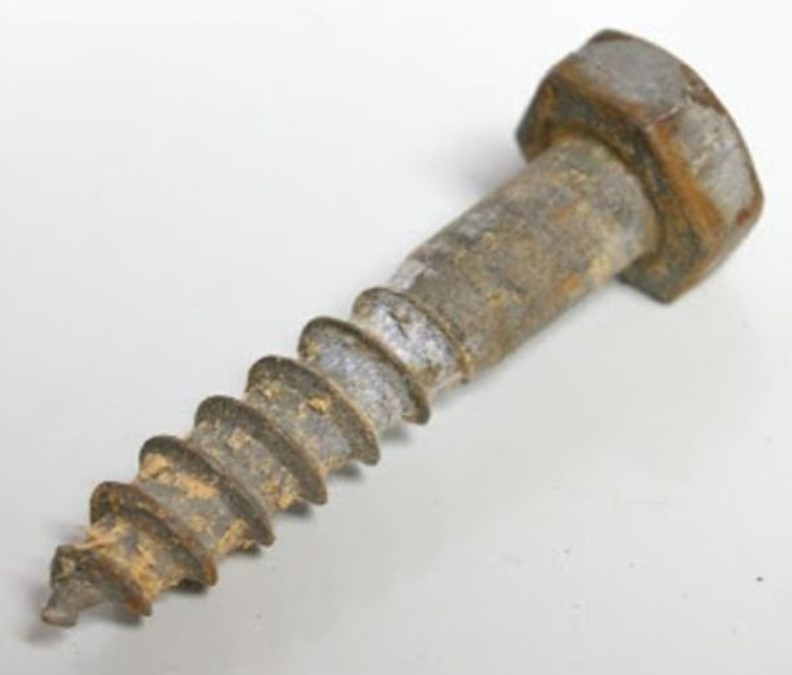
- An inclined plane wrapped around a cylinder
- The bumps on the screw are called threads, but a screw can only have 1 thread, wrapped around and around. Otherwise, the screw wouldn’t be able to move as it does
- Examples: a screw
6. Wheel & Axle
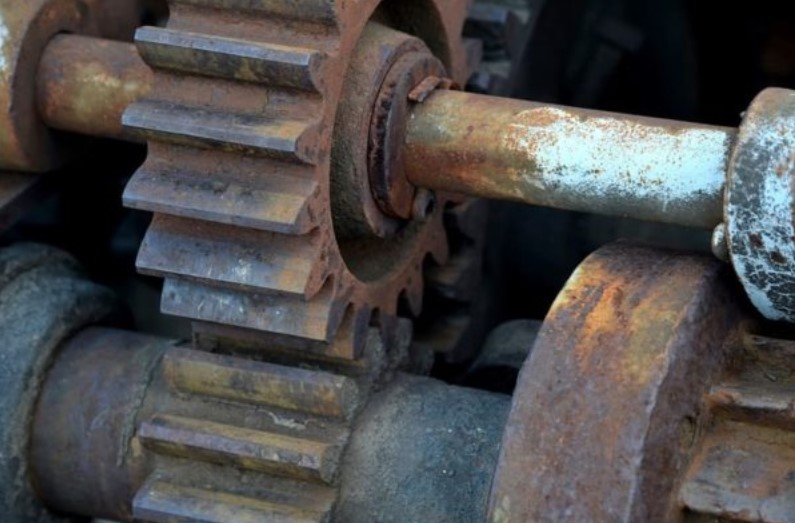
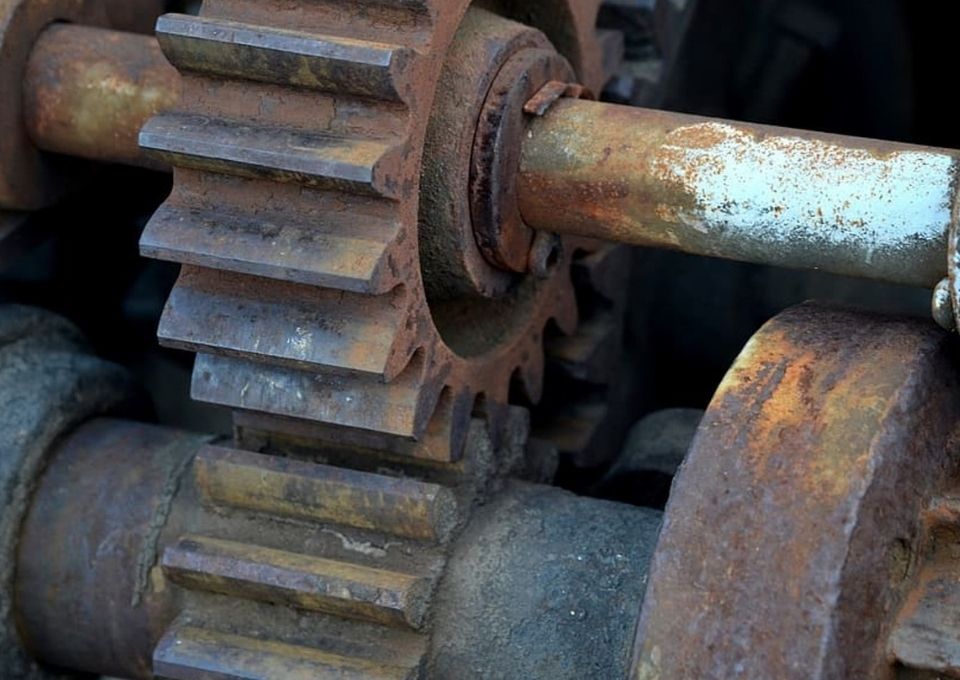
- A simple machine consisting of a wheel or crank attached to an axle.
- Key to most kinds of land vehicles
- Allows gears to work, which power many types of complex machines
- A wheel without an axle can’t do much
Part 1: Examining Simple Machines
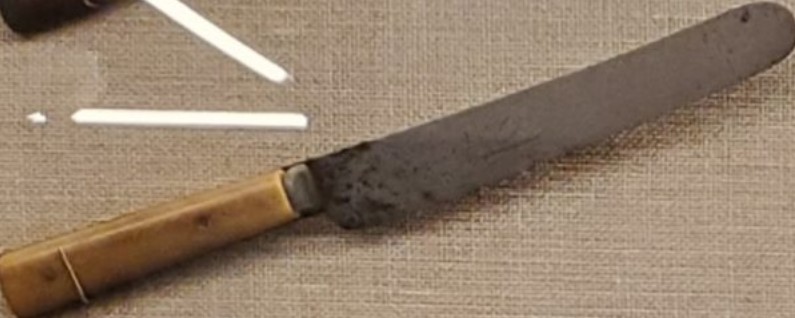
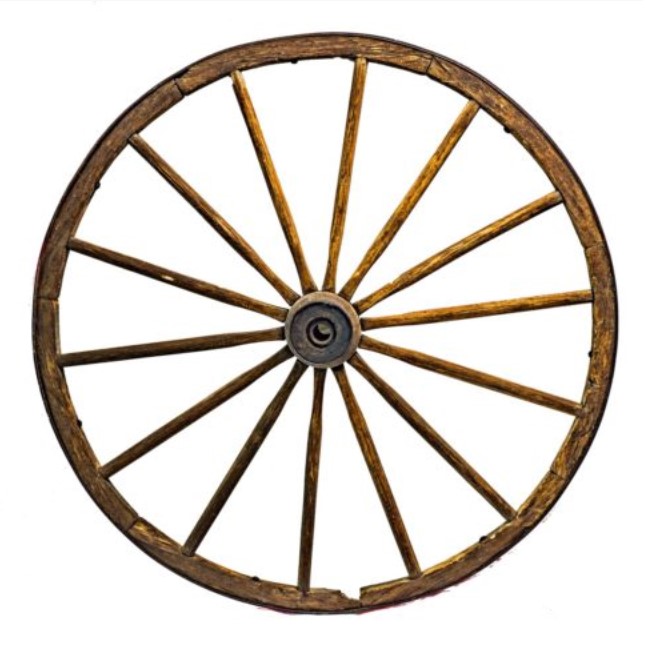
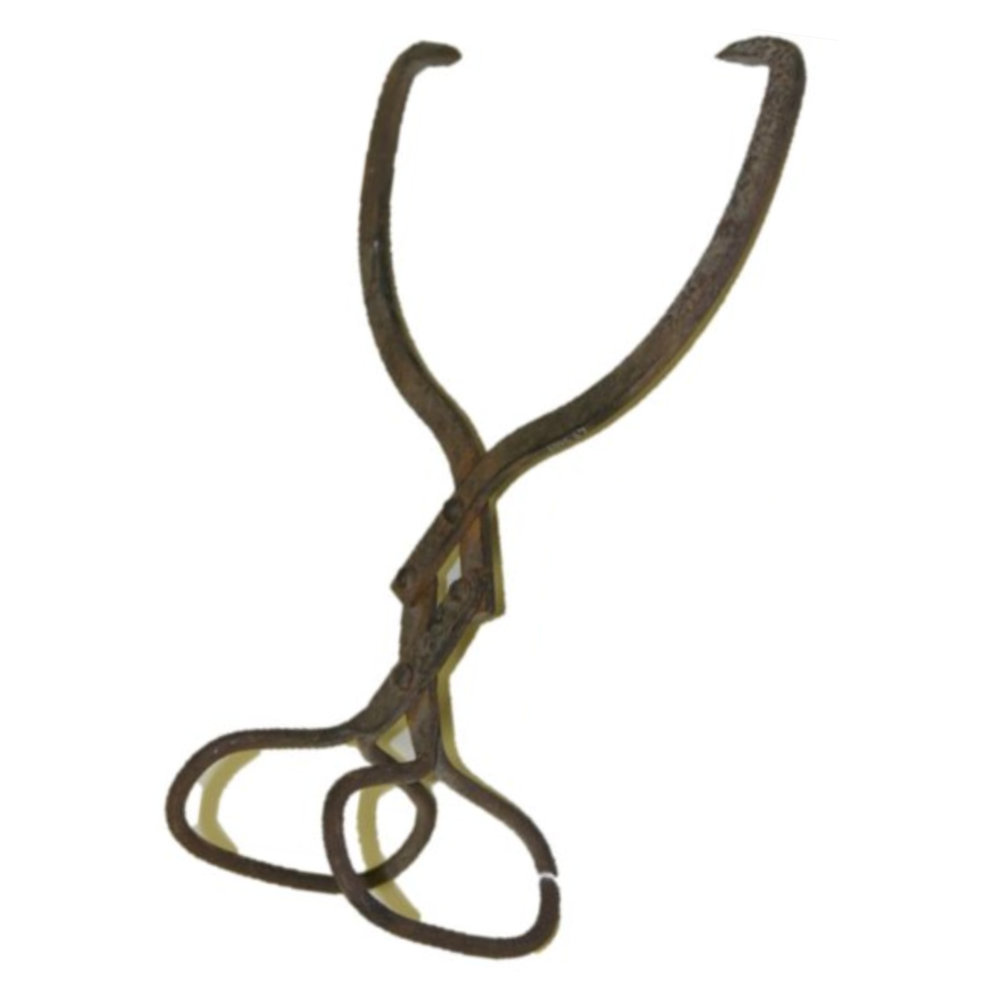
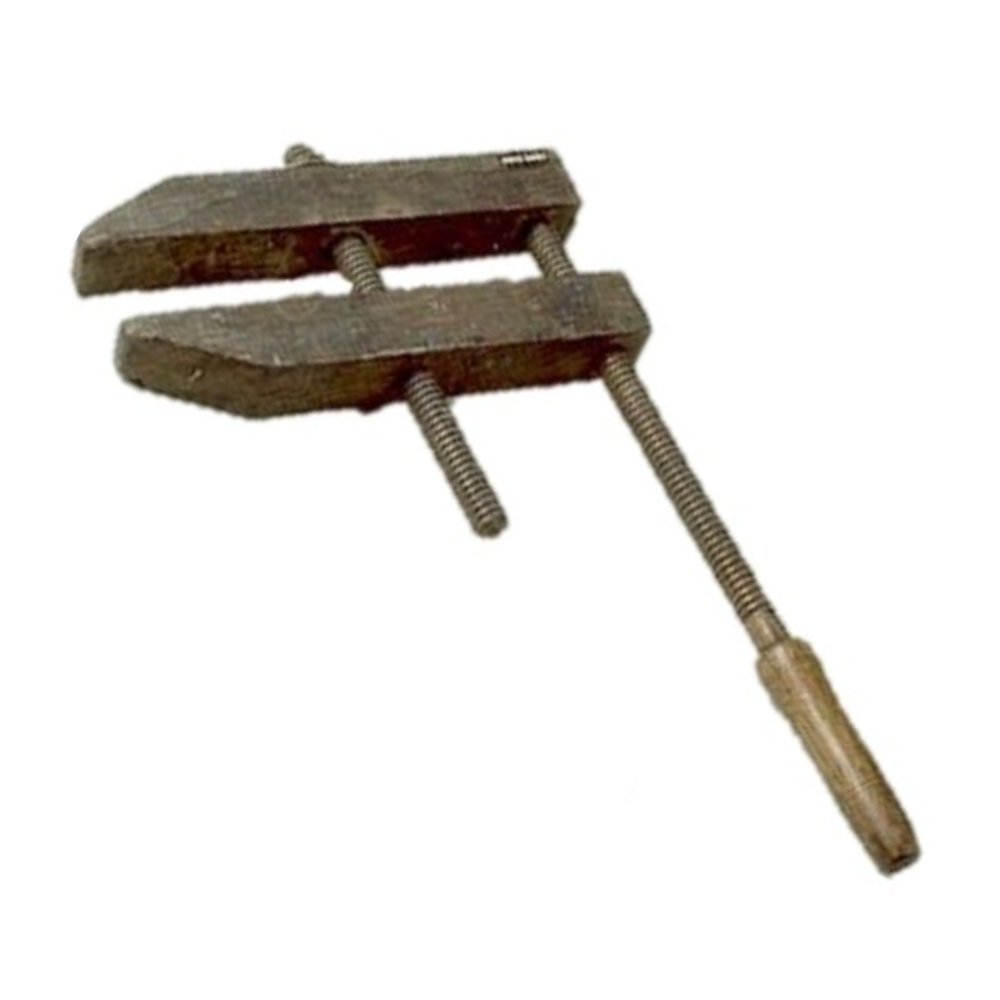
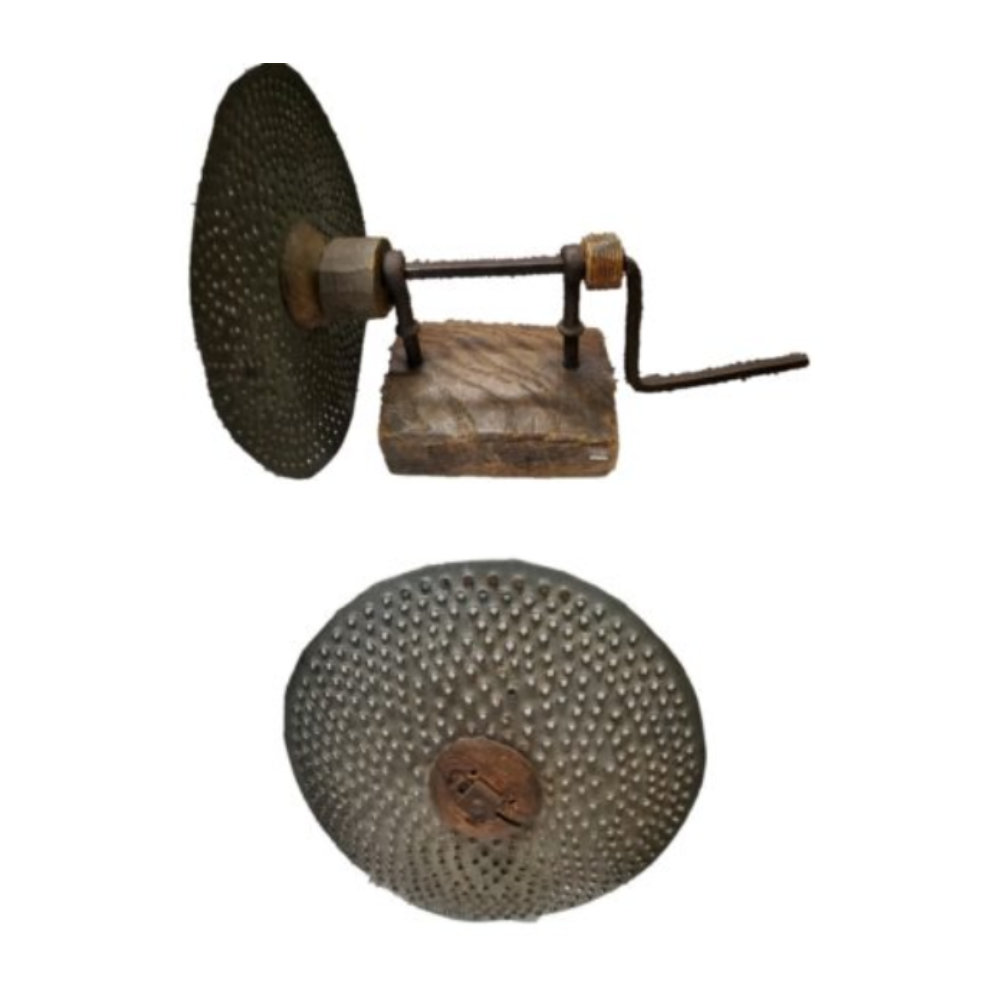
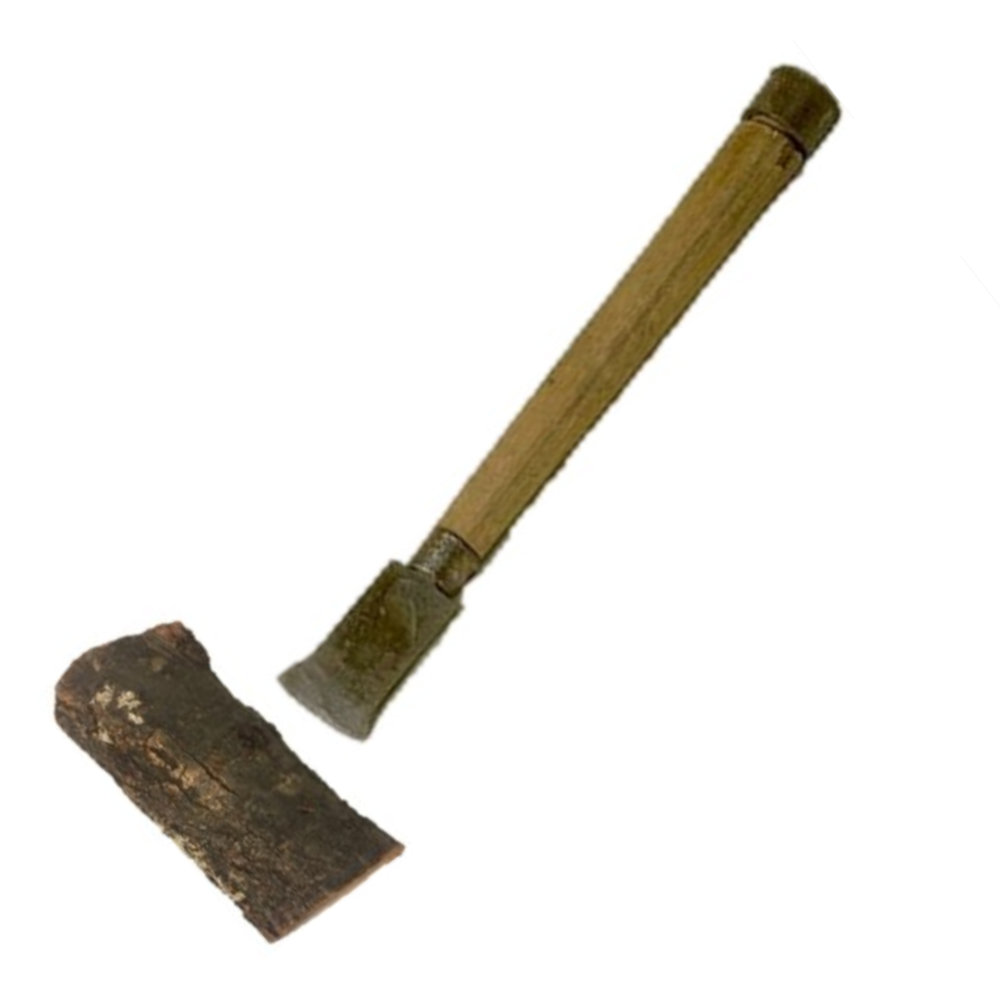
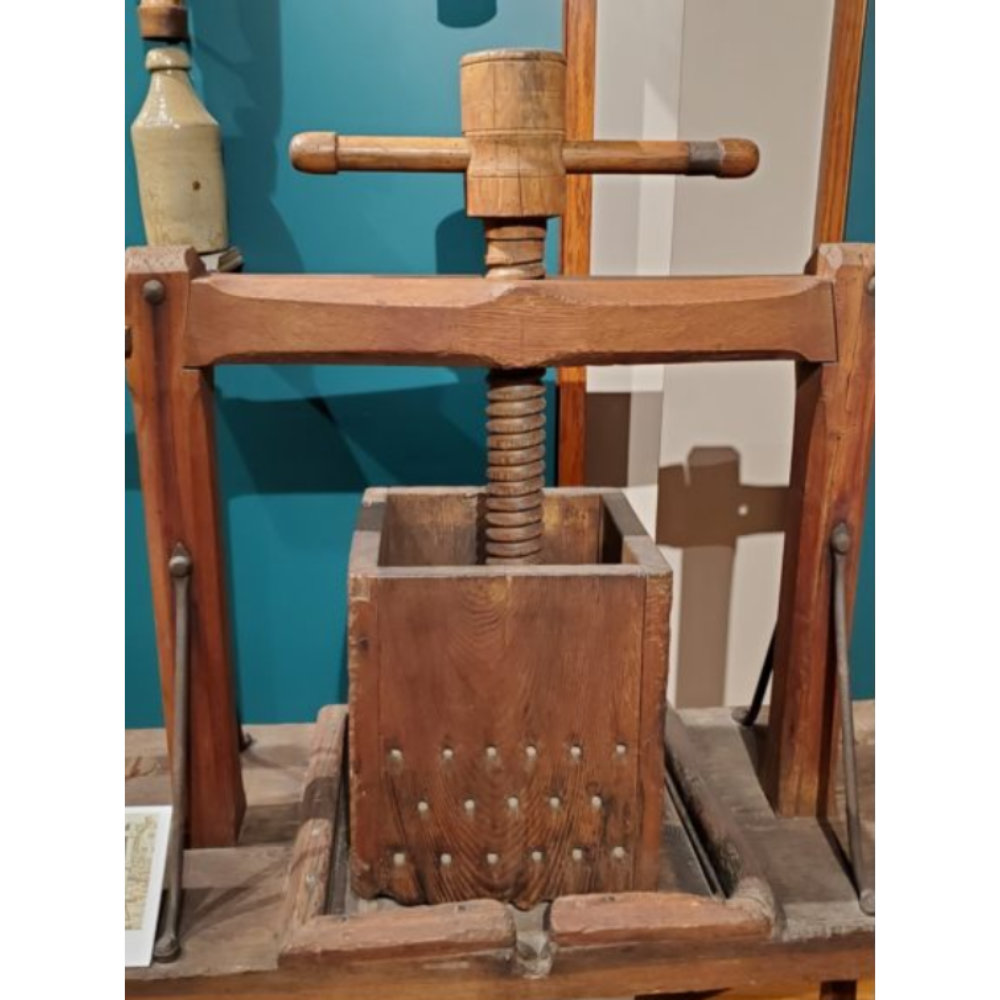
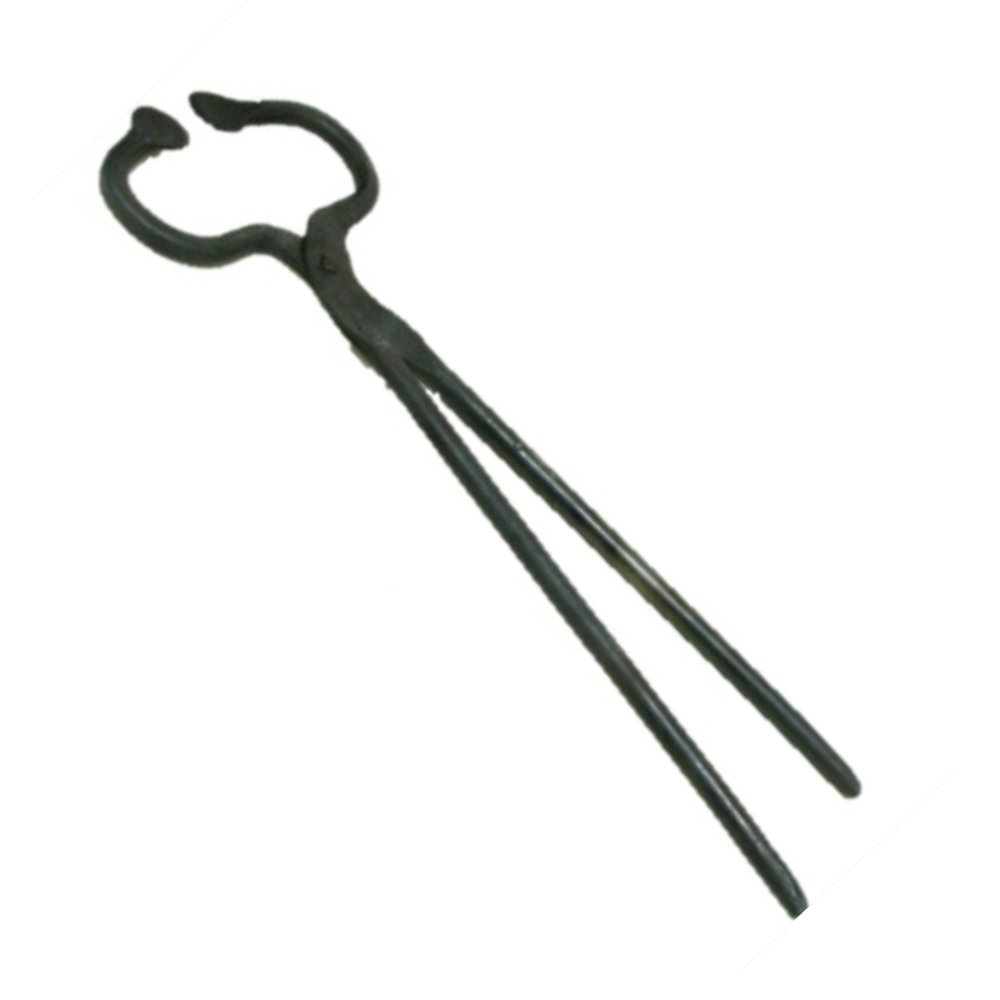
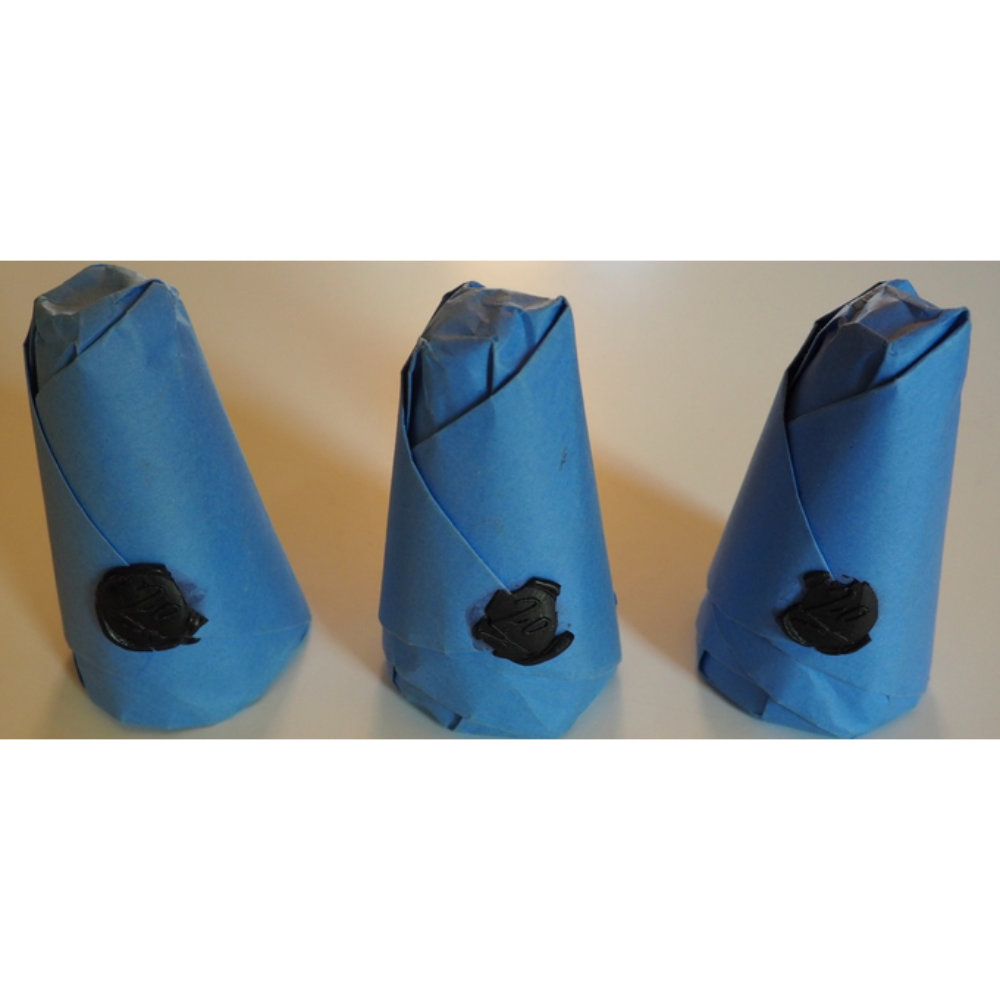
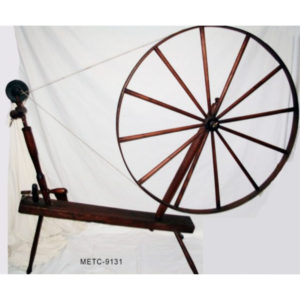
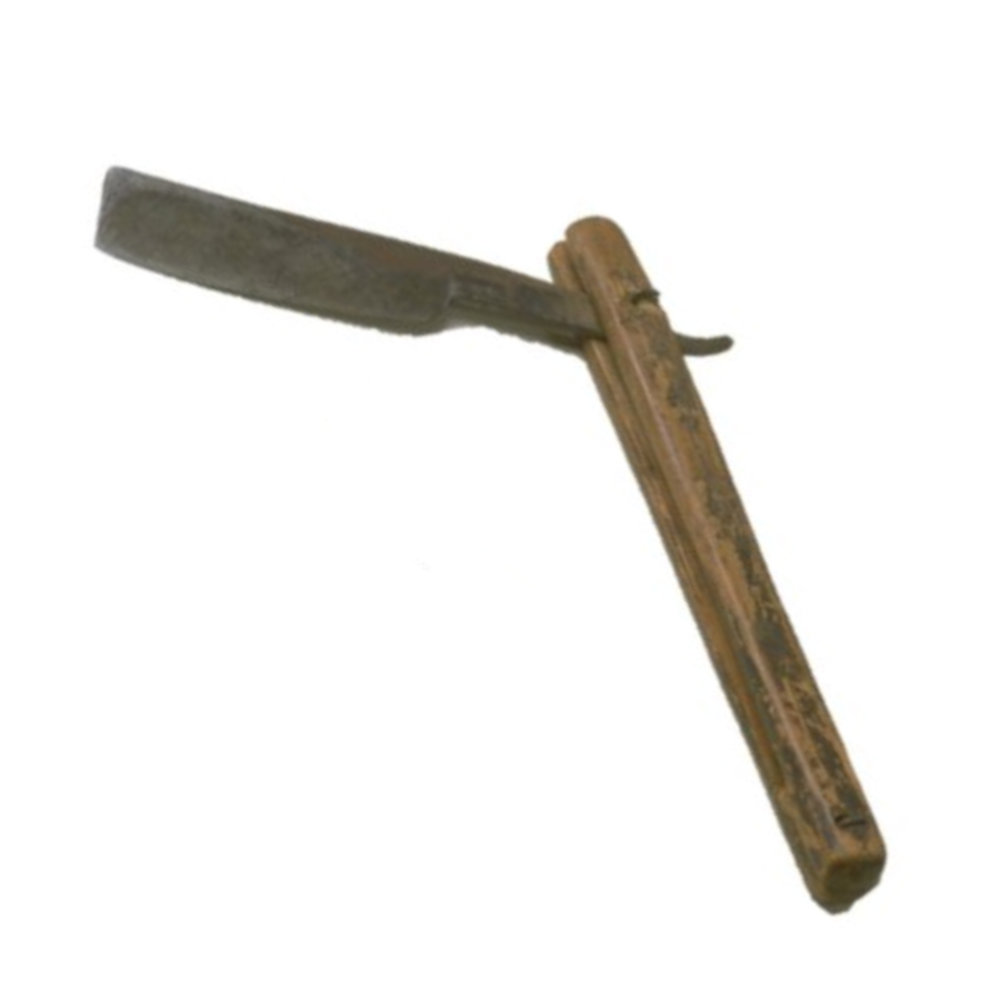
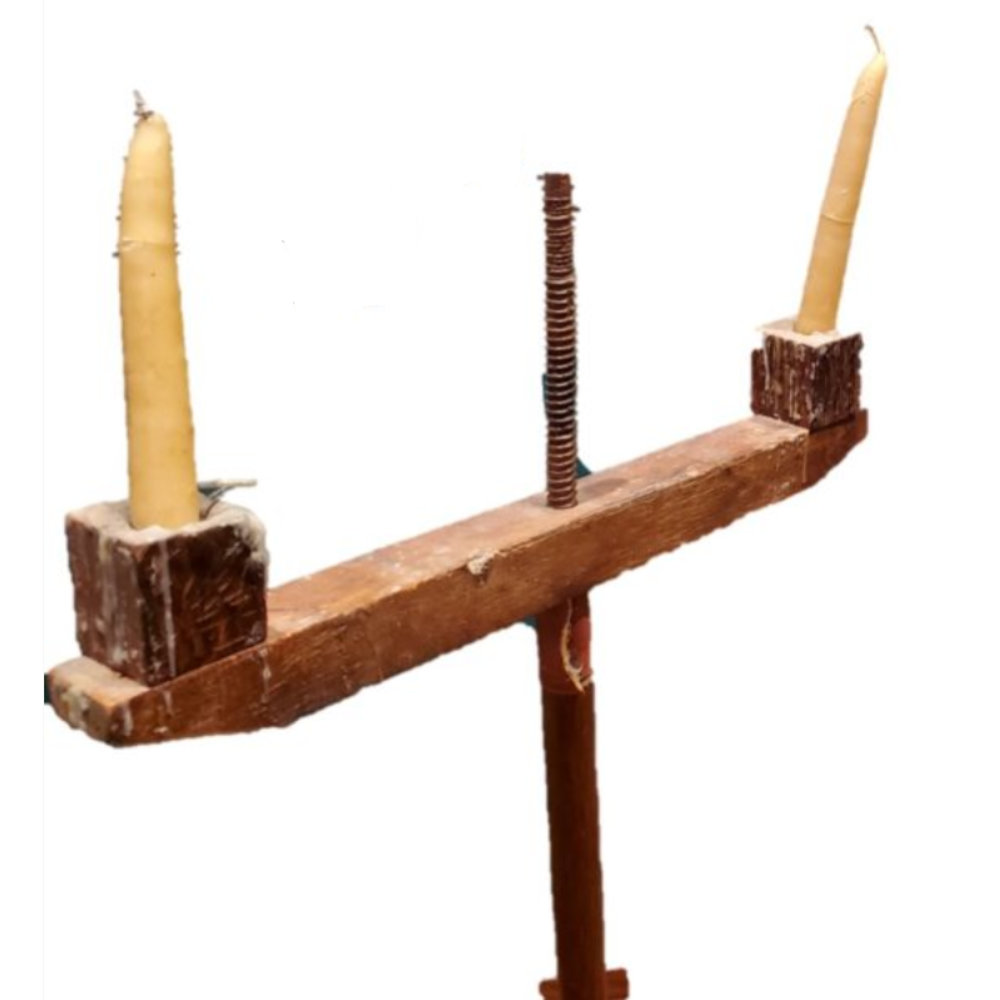
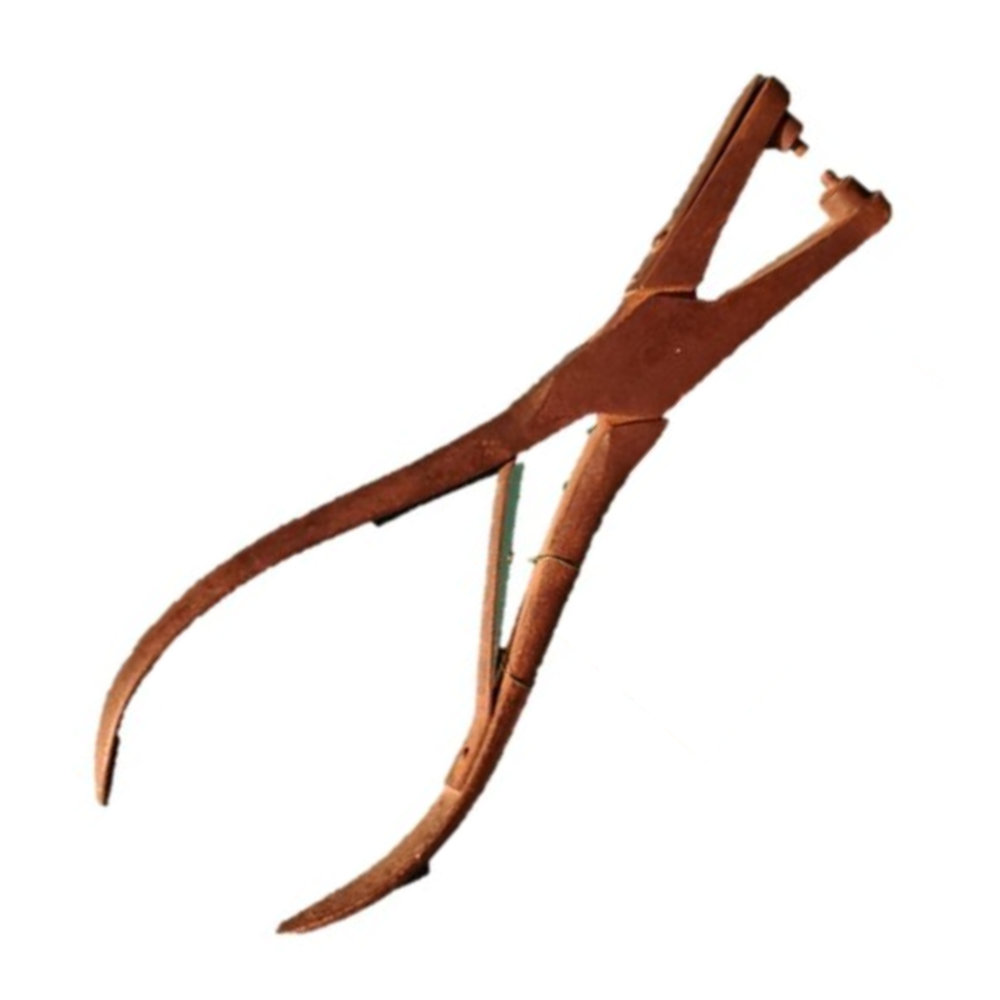
Now your students will get to apply what they have learned about simple machines to some historic objects. You can assign each of your students to one of the 4 objects, or have everyone look at all 4. This activity can be done in groups or individually.
The “Examining Simple Machines Activity” has these questions to give to your students as a reminder. They can either write their answers on the sheet, or just discuss with their group.
Please refer to the “Examining Simple Machines Artifact Information” for what each object is and how it was used. Encourage your students to try to figure out the objects for themselves, even if they are far off base.
Once everyone is done, have your students present what they thought each object was used for. Discuss whether they were correct or not. Even if they were not, the point of the activity is for them to look closely and to use their critical thinking skills to analyze an object.
To further illustrate how simple machines were used in the 1800s, here are some additional examples to discuss with your students.
Part 2: Finding Simple Machines
We have many simple machines in our lives today as well. Ask your students to find as many simple machines as they can in their home using the “Finding Simple Machines Activity Sheet” as a guide. They should try to find at least one example of each type of simple machine. For each one they find, they will list the item, list what simple machine(s) it uses and then explain how this machine helps them or their family.
After they are done, have each student share at least one thing that they found.
Discuss with your students what they learned from this activity. Were they surprised by how many simple machines they found? Were some types of simple machines harder to find than others?
Part 3: Making a Simple Machine
After learning about simple machines both in the past and today, now it’s time to try making one! In order to engage your students’ creativity, while also reinforcing the concepts of simple machines, we suggest having them design their own machine.
Ask them to think about a chore or task that takes a lot of hard work. How could they make that job easier? Invent a machine that will do the job for them! They should start by designing their machine in a drawing, but they can then go on to make a prototype, or model, of their machine if they want.
You may find our Inventor lesson a helpful guide for this process, just be sure the focus is on using simple machines in whatever tool, or machine, they make.
Their invention should include:
- A combination of several simple machines
- A description of what the machine will do
- A description of how the machine works
- An illustration/diagram of the machine
- The name of the machine
Simple Machine Example
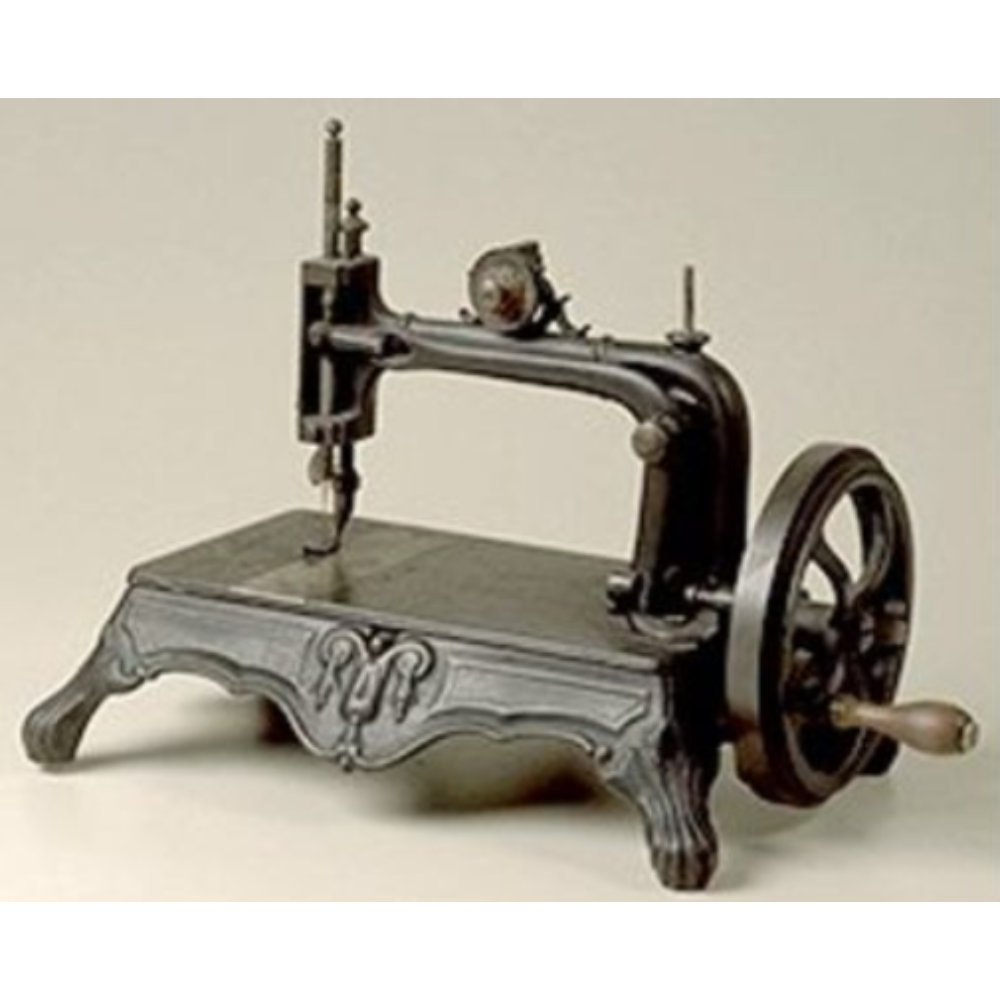
Take a look at this example of a simple machine that made a huge impact on history!

